Maybe you’re curious about what goes on during implant placement procedures? Maybe you’re anxious about your upcoming surgery, and you want to know a bit about what happens? Let’s explore the journey one of Synergy’s previous patients went on to have a single implant placed on their maxilla (upper jaw bone).
Background
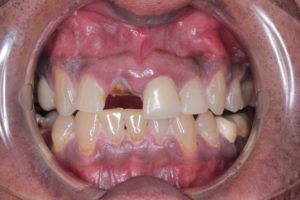
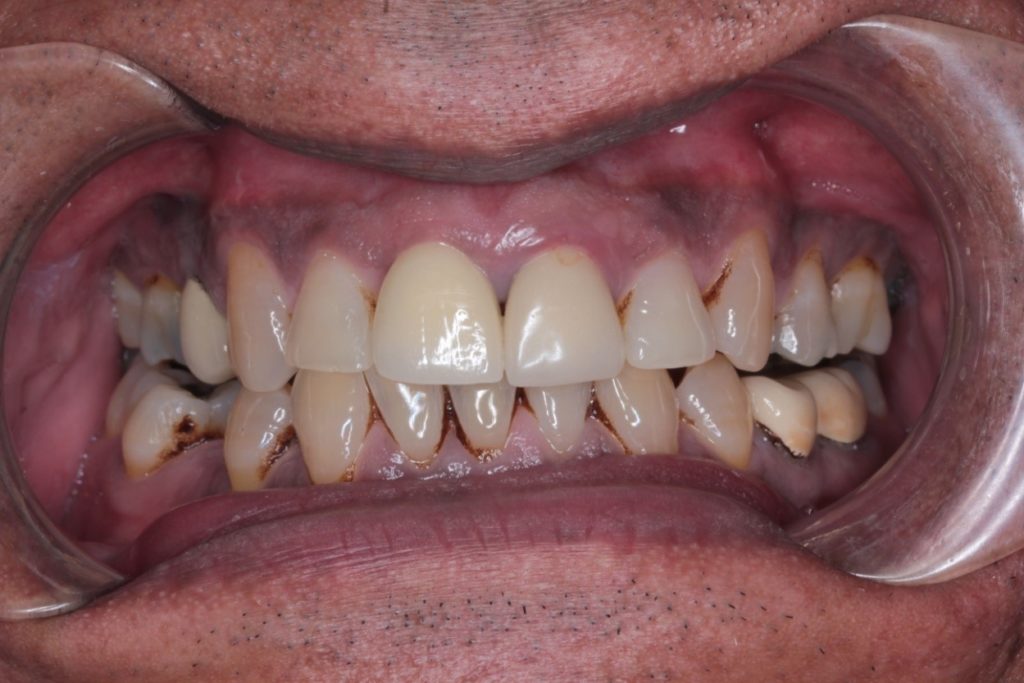
Beginning the treatment, the patient in question came to Dr Bagasi with a missing upper right central incisor (UR1). The missing tooth caused the patient to develop problems with their self-image – ultimately leading to the patient becoming quite self-conscious. These are very common repercussions that result from a broken smile, as the patient can find it very difficult to live with missing teeth.
After the missing UR1 was thoroughly examined, (while also proving a further examination of the patient’s general and oral health) Dr Bagasi suggested three potential methods for replacing the missing tooth. These were:
- A partial denture – an acrylic denture offers a removable solution with no surgical intervention required.
- A 3-unit porcelain bridge – a bridge would require one or more adjacent teeth to be shaved down. Caps would then be placed over these and act as the support for the replacement tooth. Although, nearly 60% of the natural tooth is destroyed, and there is a chance that the nerve will die away.
- A single dental implant – this option requires minor oral surgery to place a fixed implant deep into the jaw bone. The bone will then heal to the implant, leaving a permeant fixture.
Following the patient’s decision to undertake treatment for a single dental implant, all the prerequisites were completed before the implant placement appointment was booked.
Implant Placement Stage
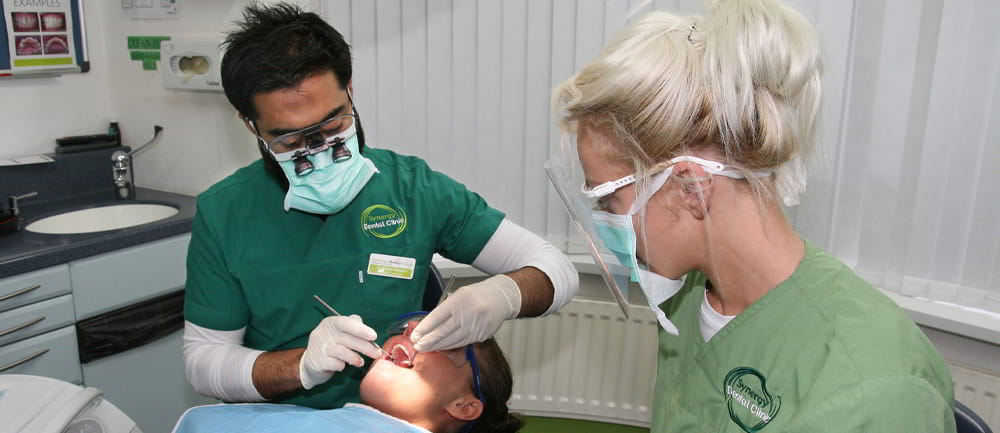
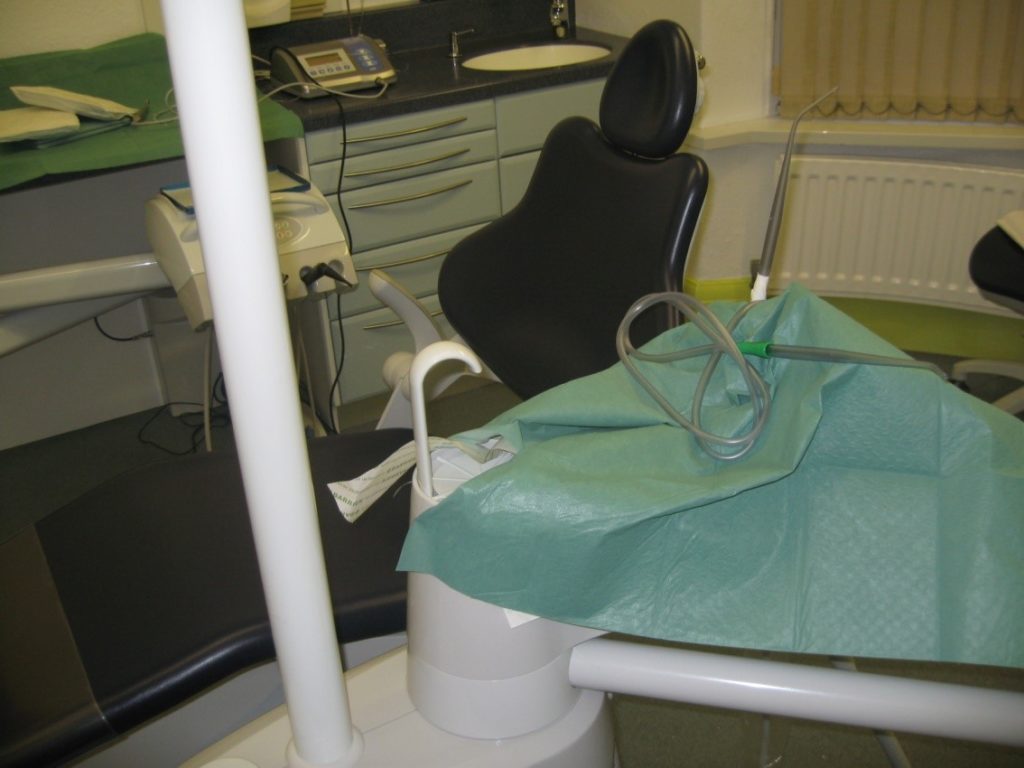
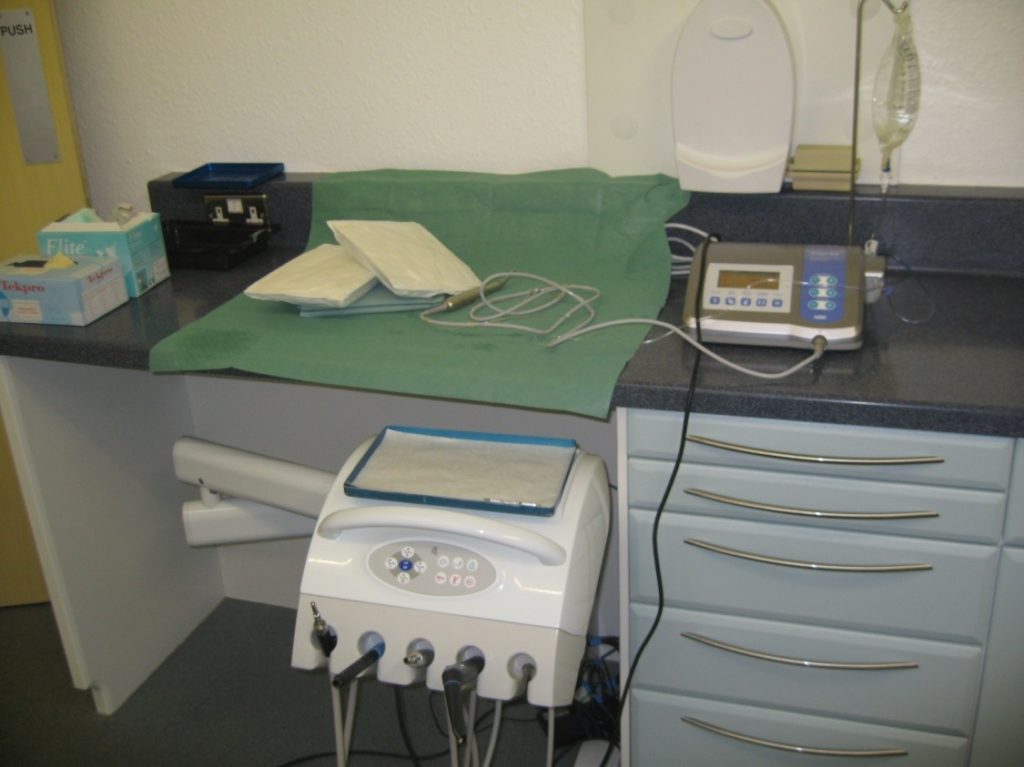
On the day of the implant surgery, Dr Bagasi and the team prepared the room the same way every other minor oral surgery is prepared for. The entire area and each member of the surgical team were first fully sterilised, and all the required equipment and materials were laid out for easy access during the surgery.
During the procedure, an initial incision was made into the area where the implant was being placed. The whole procedure was very straight forward and took a lot less time because only one plant was being fitted. There is generally less trauma to the mouth because of this, meaning there was minimal swelling and bruising – common for single implant procedures.
Once Dr Bagasi drilled the correct sized hole in the jaw, a tool was used to measure the exact depth of the hole. This is important, as the hole needs to be the correct depth in the jaw for the bone to attach onto the implant.
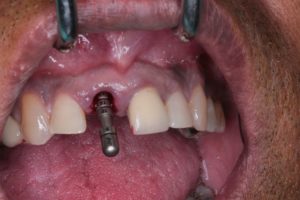
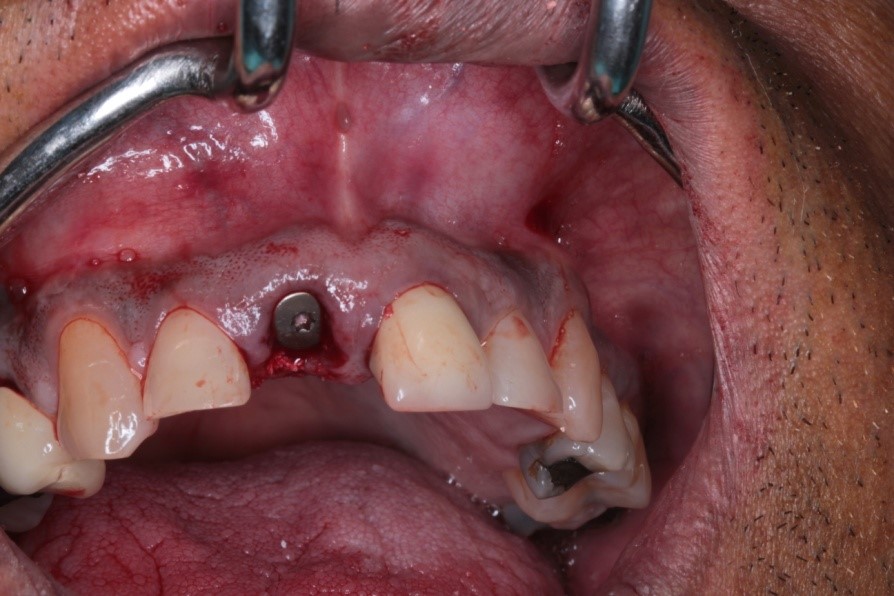
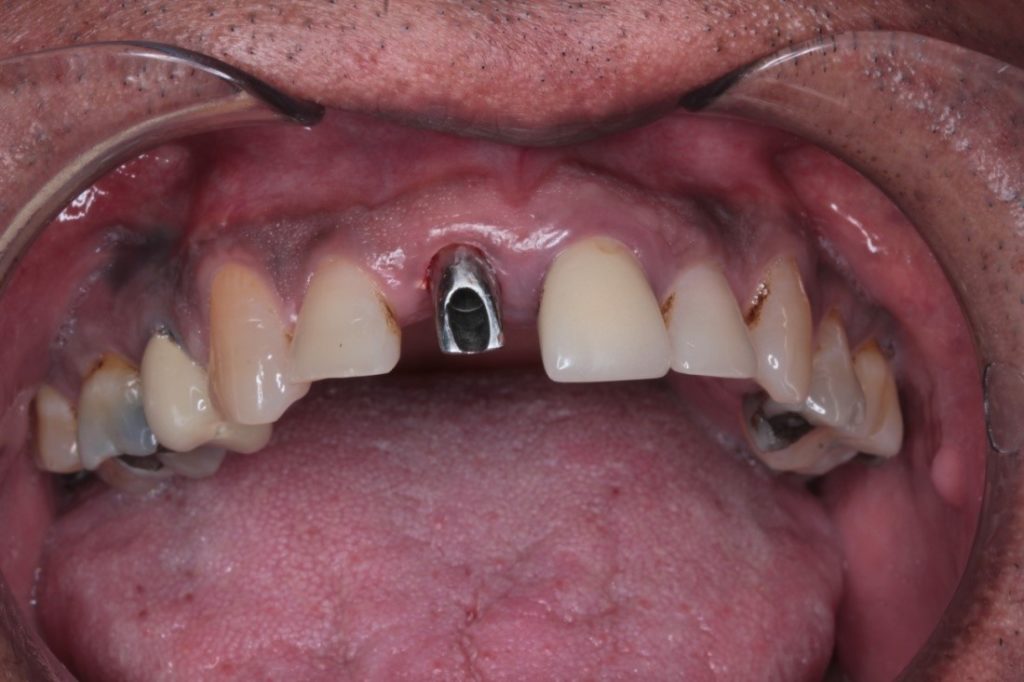
Once the implant had been fitted and Dr Bagasi was happy with the placement in the jaw, a healing cap was attached on to the end of the implant. This is done to assure that the soft tissue does not heal over the implant itself when we come to attaching the crown.

Healing Stage
Healing for an implant usually takes about 3 months. During this period, the jaw bone begins to attach onto the implant. This is what replicates the natural root of the tooth. Dr Bagasi had the patient attend consecutive follow-up review appointments. This is standard for most implant procedures, as the healing process needs to be monitored closely.
The first review was 2 weeks after the procedure, followed by another review 4 weeks later. Both these appointments are designed to monitor the healing process while maintaining a high standard of cleaning. These appointments are essential, as they allow your dentist to maintain upkeep while monitoring for potential complications.
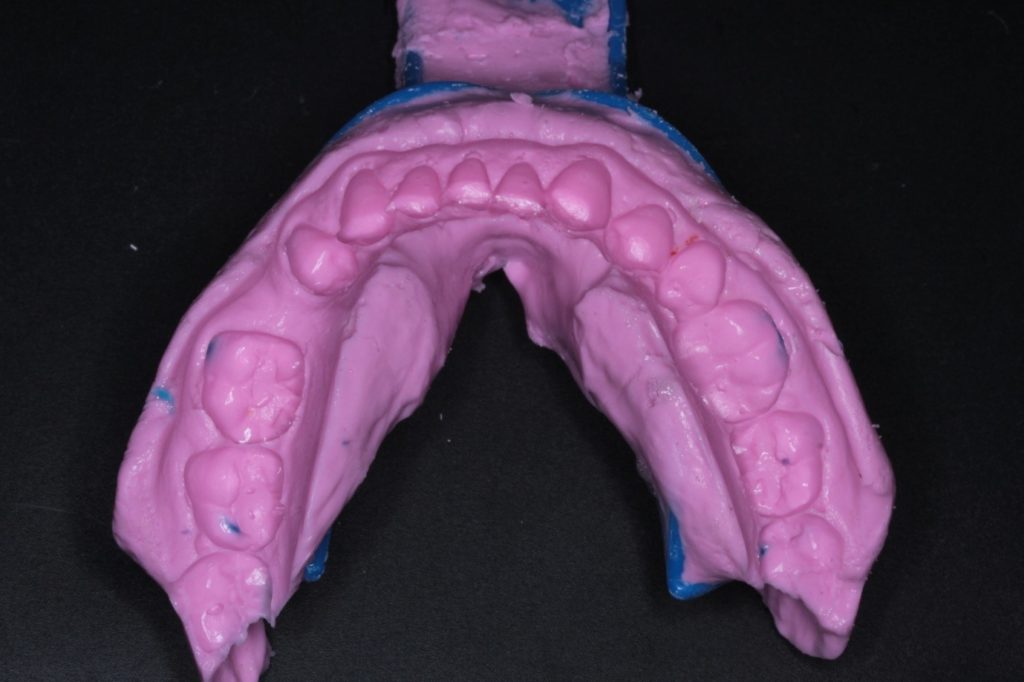
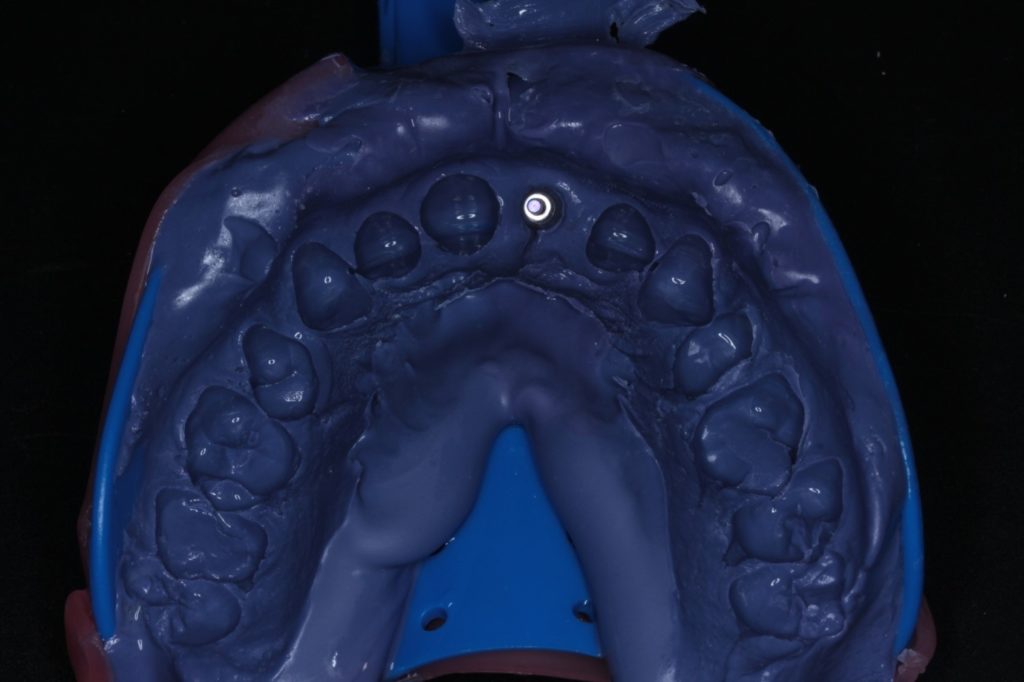
Impression Stage
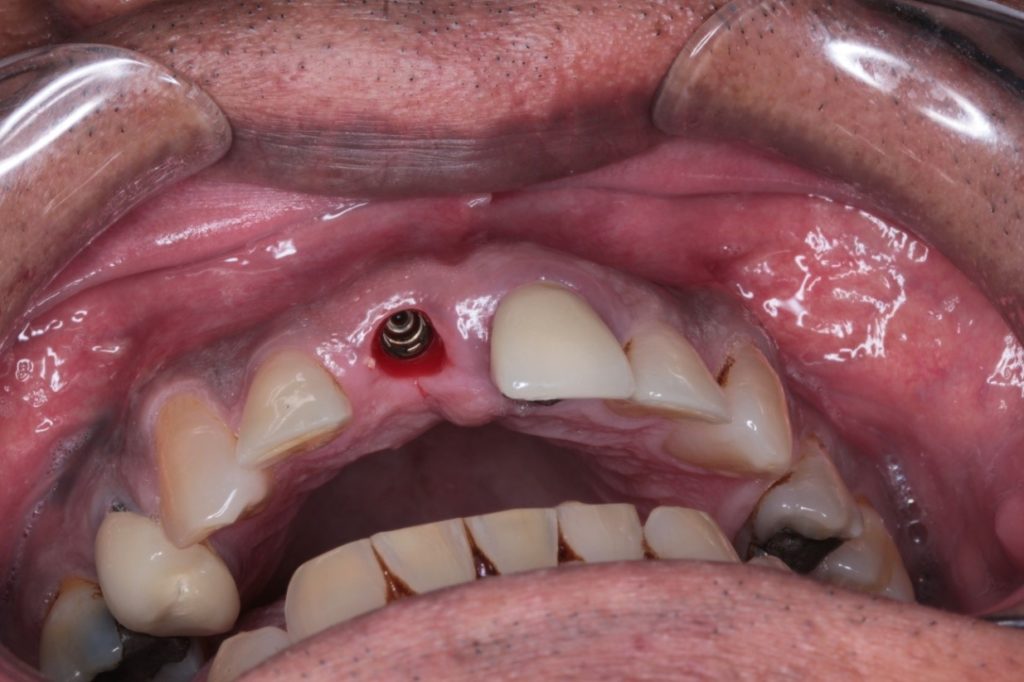
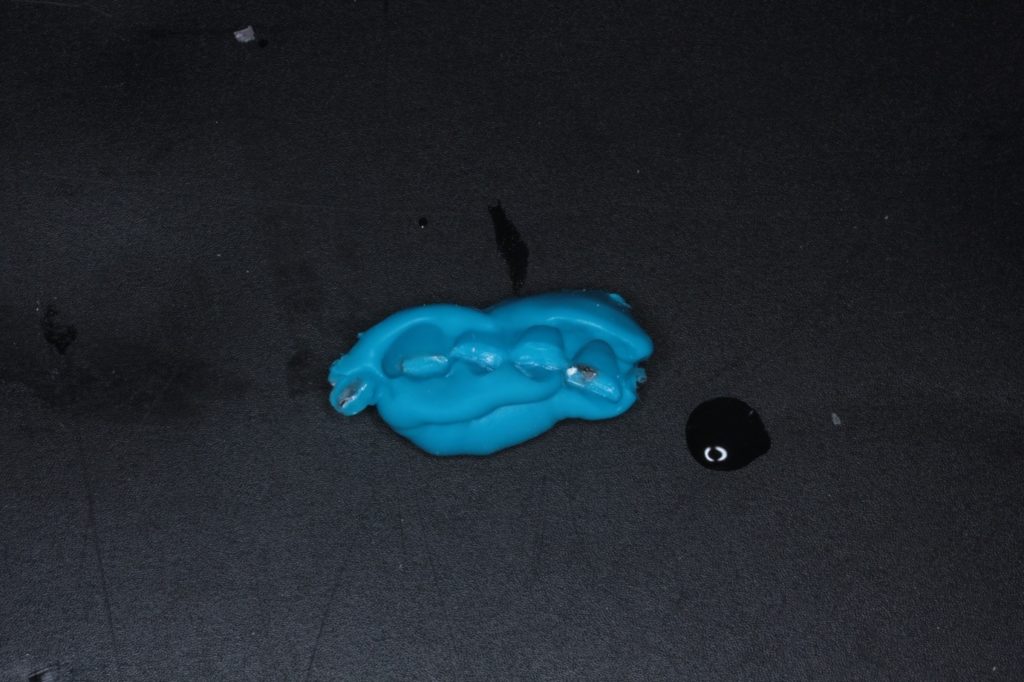
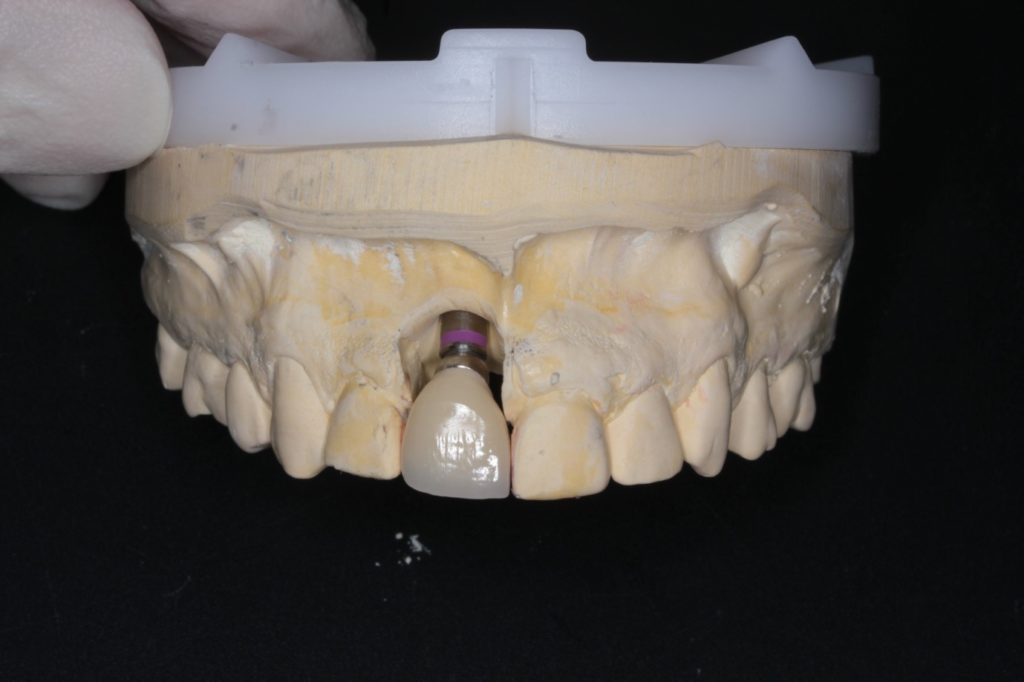
The final review appointment was then booked in for the patient. This is the appointment where impressions had been taken of the patient’s mouth. Impressions are taken to ensure the lab, who create the final crown, have a clear picture of the patient’s mouth. An upper and lower jaw impression was then created in order to make a bite registration (the blue paste). This ensures that the bite will still remain even with the final crown fitted.
A Duralay jig was then created by the lab. This was used to ensure that the crown is cemented or screwed into the exact place that was originally planned prior to the surgery.
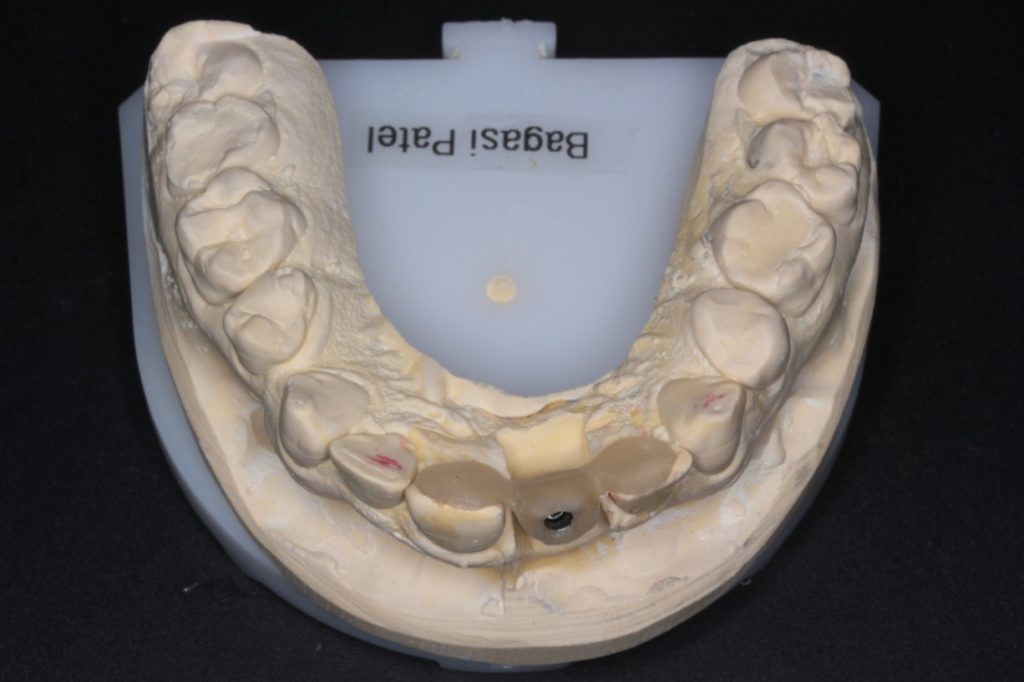
A post was then made to fit into the Duralay jig. This all ensures that the post and the crown will come together to create the most accurate positioning.
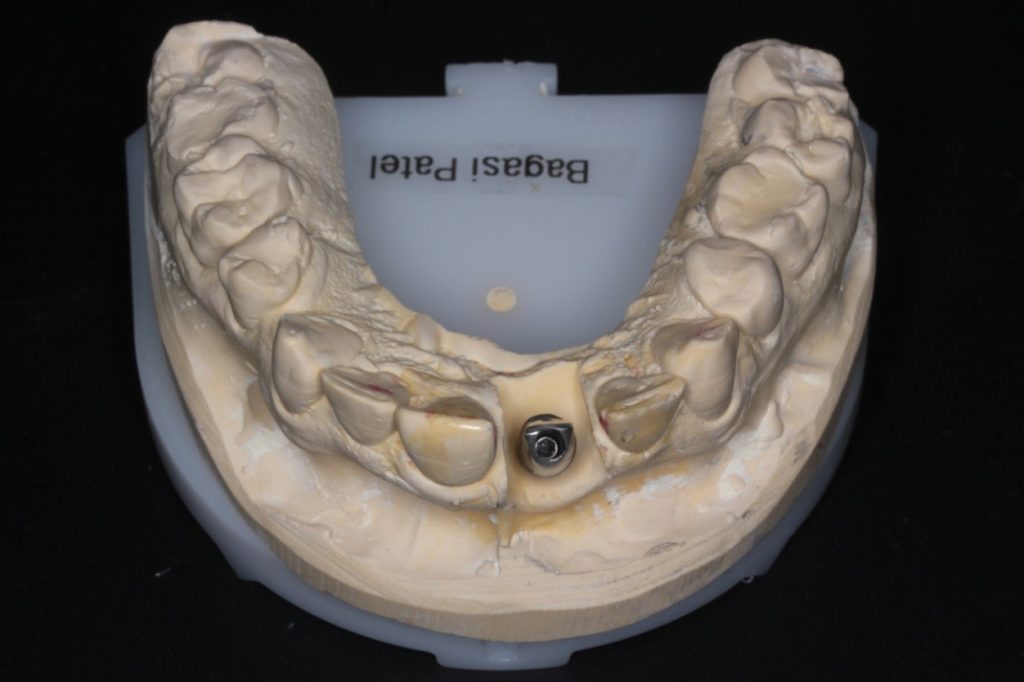
The final crown was then fitted to the mock-up to confirm the positioning and the final look. This is the stage where Dr Bagasi could give the last confirmation that the crown looked and fitted as accurately as possible for the patient.
Final Stage
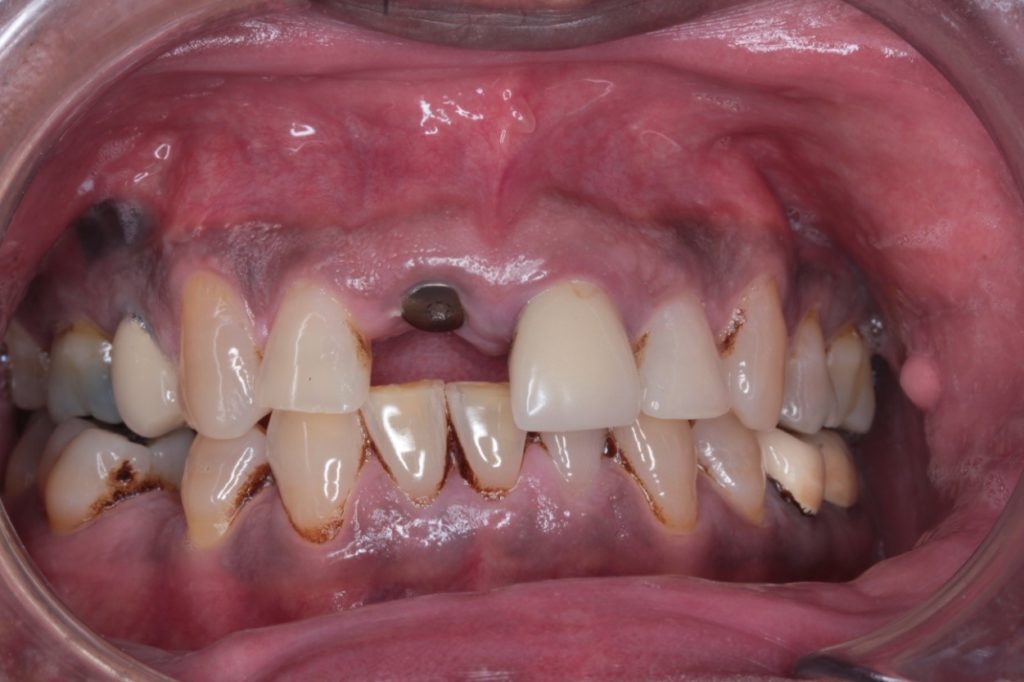
At the final stage, the patient had their implant fitted into the final position. This was done by getting the correct position from the Duralay jig and the post in place.
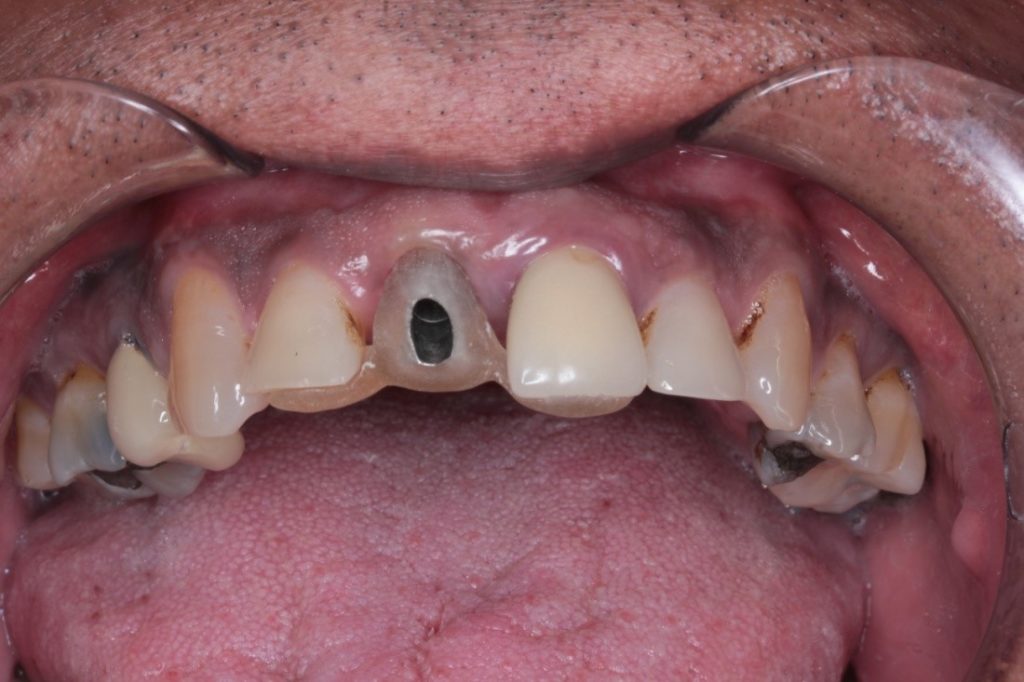
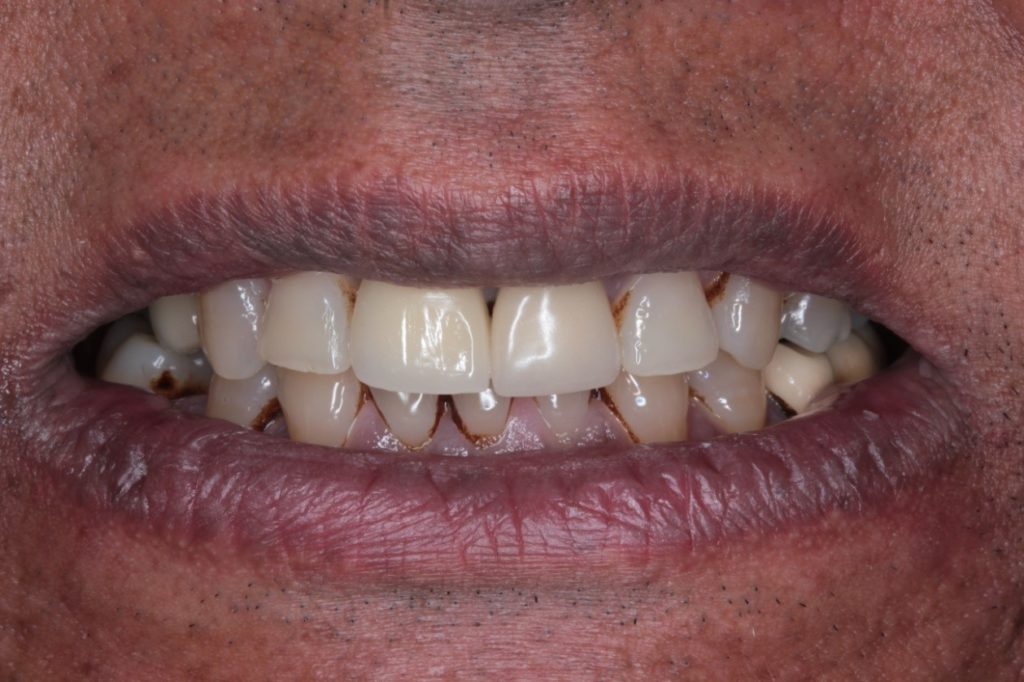
The final look was then photographed, and the patient had a final post-operative x-ray taken to make sure that the implant had fully healed without any complications. The patient was incredibly impressed with the change and how the overall aesthetic of the mouth had significantly improved. He finally had his confidence restored and couldn’t be happier.
Unsure about your dental health? Call your nearest Synergy Dental Clinic and we’ll be happy to help.