Zahra Rushnaiwala, University of Manchester, BDS2
Many people fall into the trap of overcomplicating their oral hygiene routine – and oftentimes it causes more harm than good for their teeth! Luckily, good oral health doesn’t have to be complicated, just four simple steps done right can make all the difference. Perform these steps consistently, and your dentist will be amazed by your progress.
Step 1: Using interdental aids
Did you know, using only a toothbrush cleans around 60% of tooth surfaces, the other 40% are the tight spaces between our teeth where plaque tends to build up. This can cause bacteria to thrive, gradually damaging our teeth. This is why using interdental aids are so important – these can truly get between each surface of the tooth to make sure no food or bacteria remains. There are many tools you can use to clean between your teeth depending on your preference and comfort:
Floss
Floss is by far a dentist’s most recommended because we do consider it the most effective! It involves taking a long piece of special string (which we call floss) and getting it between the teeth and the gumline and doing this for every tooth in the mouth. Whilst it is the most effective and is sure to clean each surface thoroughly, it can be very difficult and time-consuming especially when you get towards the back of the mouth.
The best way to master your flossing technique is to ask your dentist to demonstrate it to you and even have a go yourself. You can also watch tutorials to refresh your memory!
TePe brushes
These are almost like miniature toothbrushes that come in different brush thicknesses. TePe (or interdental) brushes are great for cleaning between the larger tooth gaps in your mouth. Depending on the size of the gap between 2 teeth, you can choose your brush thickness accordingly and all you need to do is perform a ‘push and pull’ motion 2-3 times between each tooth gap to fully eliminate all the build up!
We love this technique for a quick and easy clean but sometimes even the thinnest TePe brush may not be able to clean between certain areas so in that case, using floss is the best option.
Water flosser (Waterpik)
This is a much newer technique which you’ll often find trending on social media, but what is a water flosser and how does it work?
Essentially, it uses a stream of pressurised water to clean between the teeth and along the gumline allowing it to flush bacteria and debris. You fill it up with water (and can even use a mix of water and mouthwash for freshness) and aim it at the areas you want to target.
Whilst it uses modern technology to eliminate the difficulty of flossing, good-quality water flossers tend to be more expensive and require power so may not be the most convenient for everyday use or travel. Some users struggle to adapt to the technique needed and it often leaves their bathroom floor quite wet!
Optional Step 2: Mouthwash
Mouthwash should generally be used at a separate time to brushing – and certainly never after brushing – given that it washes away all the important fluoride that your enamel needs! But some dentists recommend using mouthwash after the interdental cleaning step so that when you rinse your mouth with it, it provides the final push needed to clear up all those food particles.
This step is not essential and even flushing your mouth with water will do the job! If you have been given a prescribed fluoride rinse by your dentist ensure you use this at a separate time to when you brush (such as after a meal).
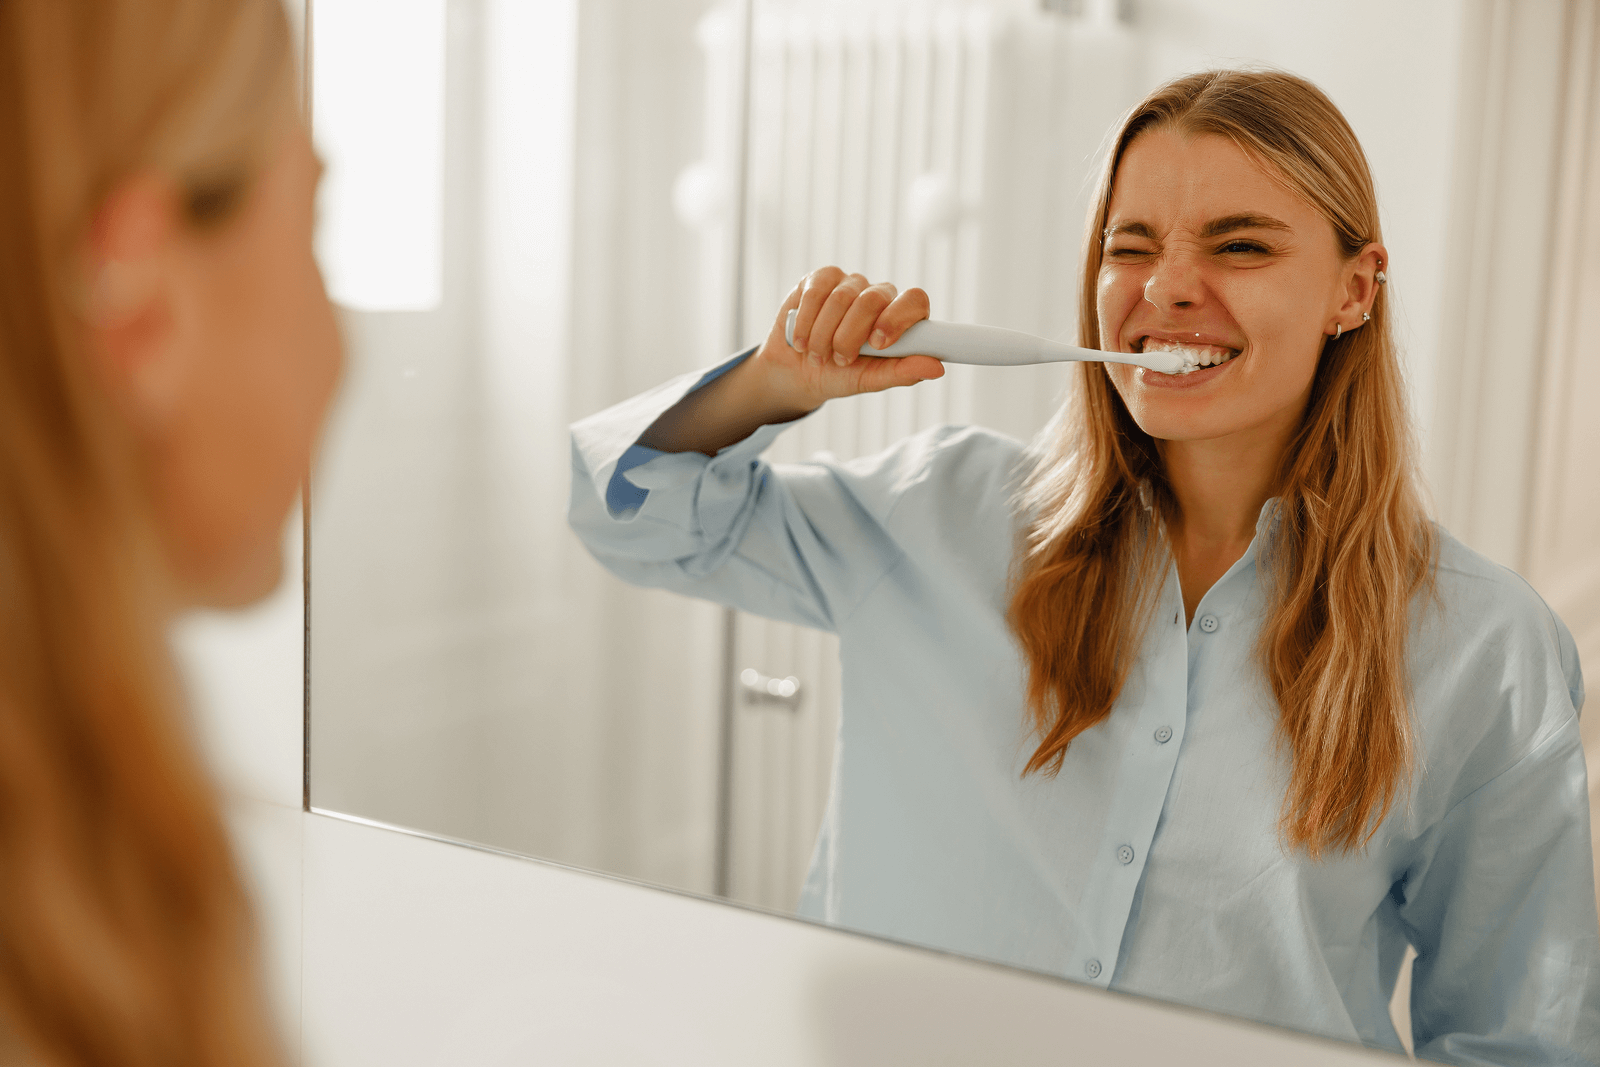
Step 3: Brushing the Right Way!
Brushing your teeth should be the most prominent and consistent step of your daily mouth care routine. But did you know, to maximise the outcome of brushing your teeth, there are a few key requirements you’ve got to meet?
- Brushing twice a day: It is recommended that you brush at night and at least one other time. The reason brushing at night is emphasised so much is because at night, our saliva flow is reduced and saliva is very important to help build up the strength of our enamel. So less saliva = less protection and this is why we definitely need the fluoride at night to provide that protection instead.
- Brushing for 2 minutes: Setting up a 2 minute timer is a great way to make sure you reach all areas of the mouth equally. Spend about 30 seconds in each quadrant to ensure even cleaning.
- Using circular motion to clean the tooth AND gumline: Aim your brush towards the gumline and use gentle, circular motions – do the same for each tooth surface, targeting 2-3 teeth at a time. This will allow any food stuck in the gums to be removed which will eventually stop any bleeding or inflammation if done properly and consistently!
- Spit don’t rinse: Imagine spending all that time brushing for your progress to be reset…That’s what happens when you rinse out your mouth after brushing. The water flushes away all the fluoride that should be coating your teeth. Instead of rinsing, simply spit out your toothpaste and wipe your mouth! You’ll find this also leaves your mouth feeling so much fresher.
- Manual VS Electric: A common misconception is that electric toothbrushes provide better cleaning, just because they are more expensive, but in actual fact it doesn’t matter which type of toothbrush is used. As long as your technique is accurate, both manual and electric toothbrushes can provide equal effectiveness.
- Fluoride toothpaste: You may have got the idea by now that fluoride is essential for protecting our enamel, so check you have the correct concentration in your toothpaste. Regular adults should have 1450ppm but be sure to ask your dentist as this concentration varies if you are at a higher risk of cavities.
Note: Don’t panic if brushing or flossing makes your gums bleed! They are not harming your gums, rather attempting to repair them. At first, they might bleed and if they do just continue as you would and use gentle force to clean. Bleeding gums can be the first sign of gum disease so if this is a regular occurrence, see your dentist for advice and professional intervention.
Step 4: Tongue scraping
Tongue scraping is often the last step of the routine, whilst it is usually an optional step, it can be considered quite important because bacteria don’t just harbour on your teeth…they can build up on your tongue too.
This part of the routine is simple – take your tongue scraper and scrape your tongue from the back to the front a few times. The main benefits of tongue-scraping include reducing bad breath (which is commonly caused by bacterial build-up on the tongue), improving your taste perception and enhancing the appearance of your tongue by ensuring it’s healthy and pink.
We hope you found this guide useful in understanding how and why we need to perform our mouth care routine in an effective way! Start incorporating these steps into your daily routine and your smile (and your dentist!) will thank you.